As teachers, we are CONSTANTLY assessing our students formally or informally. If you are a music teacher like I am, you are probably assessing multiple grade levels and/or instruments every single day. If you teach anything else, you will always have multiple groups of students at any given level in each class (think reading levels, mastery levels, etc.) One of the greatest things about an online classroom is that it can allow the teacher to give individual instruction to students at multiple levels at the same time. Google Forms can help you do this in a succinct way! Keep reading to see how using sections in a Google Form can give you ONE results spreadsheet to look at while you are assessing multiple groups!
Google Forms 101
Yall. You can do Google Forms even if you never have before! Go check it out at forms.google.com and I’m sure you’ll find it very intuitive. My advice for anyone trying something new is to be brave! You aren’t going to break it and you’re going to get better quickly!
A Google Form is Google’s way to collect data. They are so customizable and once people have completed your form, the data will appear in a beautiful spreadsheet for you!
If you think that this description seems pretty general, you’re right! The open ended nature of Google Forms allows you to collect just about any kind of data that you wish. There is so much flexibility with Google Forms and you can get really creative with them!
My Example Form: A Listening Literacy Lesson
My example for you today (that I really do use with my students!) is a listening literacy lesson. That title is boring, so with kids I’m calling it “YouTube Video of the Week”. You’ll see “Week 1-3” after the title because that’s how I keep track of which week I am in 🙂
Check it out here:
My Goal: Efficiency
Hopefully it is obvious that my BIG goals are always to teach music at a high level. In this particular lesson, I am looking to expose my students to EXCELLENT musical content each week to get those sounds in their heads. I could really spend a whole lot of time prepping individual lessons for each of my classes on this topic. I HAVE TOTALLY DONE THIS…and then quit doing listening literacy because it took me too long to prep each week!
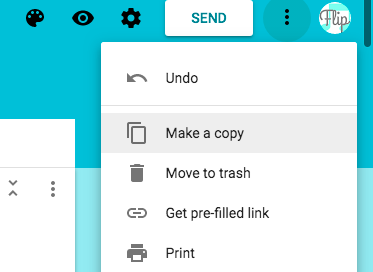
Using a smart, carefully designed Google Form streamlines this process for me and allows me to give great content to each of my classes each week. BONUS: once I have made this form one time, I just “make a copy” each week and change out the videos. The bulk of the customization is already done and I can just do small edits each week. HUGE TIME SAVER!
Step 1: Basic Info
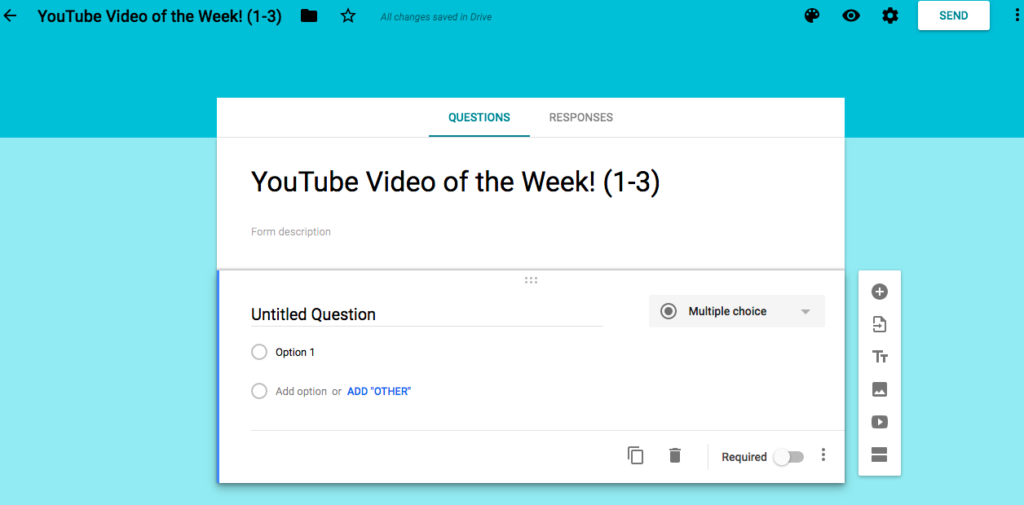
When you start your new form, add a title. The default title is “untitled form” and it is easy to lose things with titles like this (speaking from experience – hah!) Once you title it, make sure the file name matches. To do this, just click on the file name at the top left next to the back arrow. It will automatically change to whatever you titled your form.
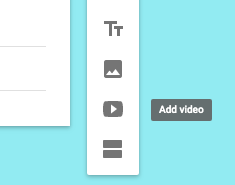
To add a question, just click the plus sign on the right side.

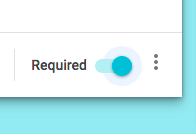
I recommend asking for First Name and Last Name in each form separately (if you need that information). This will allow you to sort by first or last name when looking at results. ALSO, let’s be honest – sometimes kids do weird things and will just put their first name, so I am pretty specific about this. I also recommend making these questions required. Look at the bottom right of your questions and there will be an option to make it “required”. This will not allow them to submit the form until all required fields are filled out.
The MOST IMPORTANT Question
This next question will help you customize the rest of your form to each individual who is filling it out. In my example, my students will choose their instrument and then, depending on their instrument, it will take them to an appropriate YouTube video.
You could have students choose their ensemble, their reading group, their color team, or ANY other way that you have them divided. If you want to get really fancy, you could have a dropdown with their names or id numbers or some other identifier. From there, they can be taken to something customized precisely for them.
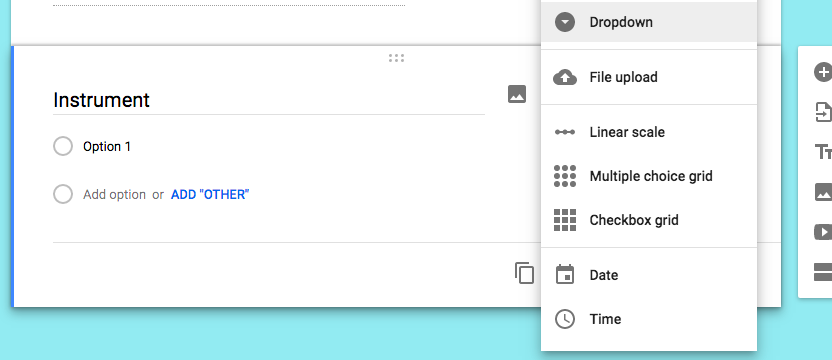
I used a drop down menu for this. You can find this option in the answer type menu next to your question.
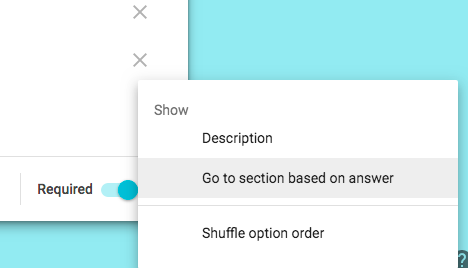
At the bottom of your question, next to the “required” option, click on the three dots. Then select “Go to section based on answer”. This is the golden ticket, friends!
Another quick idea…
Let me just throw this in real quick. Imagine a multiple choice quiz that you make for your students to assess what they know. Now imagine that when they choose an incorrect answer, they are taken to a link or video with a tutorial so that they can revisit the material. You can make this happen with “go to section based on answer”!
You could make a cool “choose your own adventure” style activity with lots of “go to section based on answer” questions!
Creating Sections
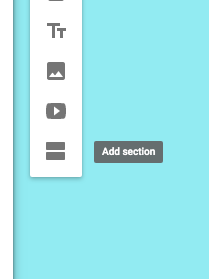
Now you need some sections to “go to based on answer”, right? Easy peasy!
Check out the right side menu where you can click the plus to add a question. There is an “add section” option there also!
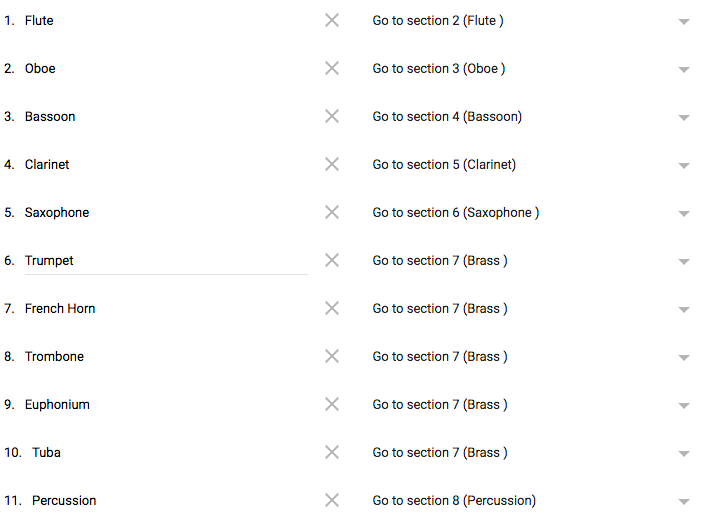
I created a section for each instrument group. Woodwinds and Percussion are separated by section and Brass are all together because that’s the videos I wanted to show this week.
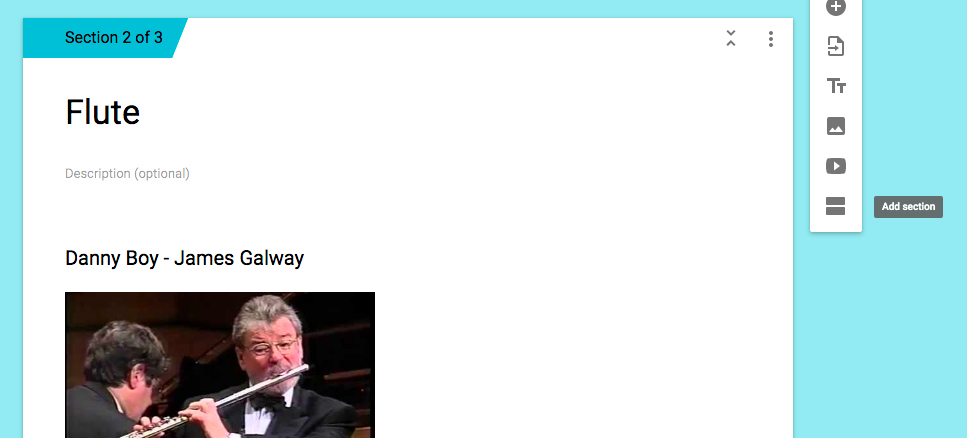
In each section I added their appropriate video with a YouTube link.
I keep YouTube playlists of “great example” and “fun” listening literacy videos. This helps me to organize, add to, and share videos with my students quickly. You can follow me on YouTube here to check out my playlists and other videos.
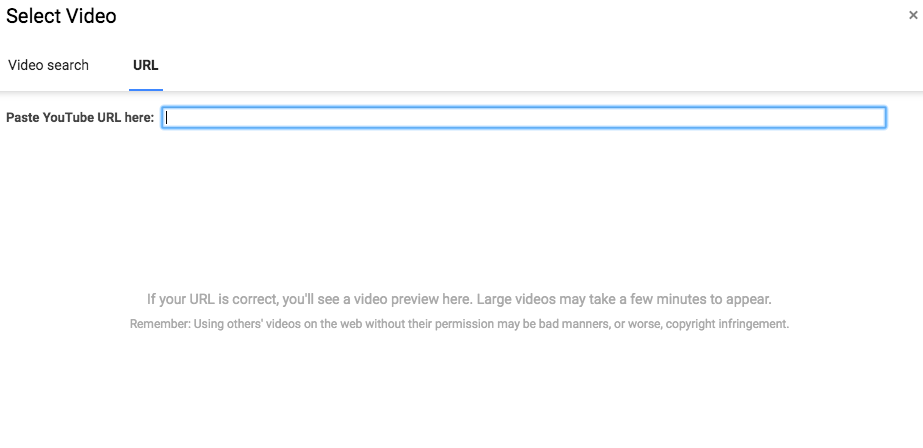
When you embed a video into a Google Form, you can either search for the video OR simply copy/paste the URL.
Go To Section Based on Answer
Now it’s time to add all of those “go to section based on answer” commands. Here’s what my final customization looks like:
At the end of each section you’ll need to do one more thing. Here’s the flow of this form in my brain:
- Name and Instrument
- Instrument Specific Video
- Quick evaluation question
- Funny Video
- Submit
I don’t want students to have to go through each video, so I added one final command at the end of each section. Instead of having the student “continue to the next section”

They will instead go to the response area. You can change this by clicking on the little arrow on the right.

Final Touches
In the response area, there is an option for students to submit their own musical example video idea. This gives students some voice and me some other potential great videos to use in the future! Win-Win!
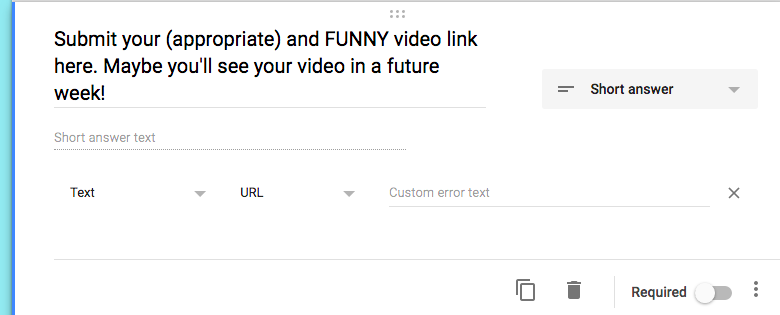
I want to show you one more cool Google Form thing today. If you are having students submit a URL, you can make the form only ACCEPT a URL. Here’s how:
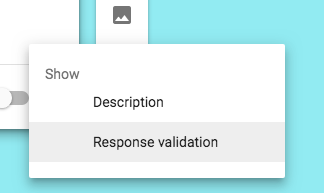
Make sure your answer type is a “short answer” and then click the three dots at the bottom of the question. Next, select “response validation”
Then you can customize the type of response that the form will accept with dropdown menus. Choose “text” and then “url”. If you like, you can customize the error text (oops, this has to be a valid URL to be submitted).
Ready to Share!
You’re ready to share now! I’ll share this form with ALL of my students in ALL of my classes and get the answers ALL on one spreadsheet for easy and quick grading! This is a really EASY and QUICK (after the initial setup) assignment to share in an online classroom environment.
Related Posts
 But, how do I get them to watch the video?!So you spend some time making videos. Great. Getting your kids to watch them is the next step or they are completely useless to you and to them!
Once I started the flipped out process […]
But, how do I get them to watch the video?!So you spend some time making videos. Great. Getting your kids to watch them is the next step or they are completely useless to you and to them!
Once I started the flipped out process […]- The Best Ever Apps for Student iPads in Music Class
Here it is: The Best Ever iPad App List!
Music Literacy Apps:
Rhythm Cat - "An addictive and FUN way for your students to practice rhythmic literacy audibly, […]
- Whiteboard Apps aka “change-yo-life” apps: Week 3 Challenge!
My most favorite thing (excellent grammar, amiright?) is a good whiteboard app. I have tried a lot of them over the past year, and if you are familiar with my blog there is a 100% […]
- Yes, you need Google Chrome!
Google Chrome is an internet browser that flows beautifully with the other Google suite of helpful things and includes access to many useful apps! It is more than an internet explorer […]
- How to Google Search LIKE A BOSS
Hey there flipping friends!
I want to give you some happy October (or anytime!) encouragement before I tell you about a little fun you can have here on the interweb 🙂
October is, in […]
- 6 Reasons All Music Educators Need Google in Their Life
Google knows more about us than I care to fully fathom and, if you are not familiar with all of the products that Google is producing, it is pretty much taking over the entire internet […]